


Halter Training Cattle: A Step-by-Step Guide
Author: Elliott Garber, DVM
Halter training cattle starts best when the animal is young, but the core method is the same at any age: fit a well-adjusted rope halter, teach the animal to give to steady pressure and release the instant it responds, keep sessions short and calm, and put safety first at every step. Cattle are large and powerful, so the goal is not to overpower an animal but to teach it that yielding to the halter makes the pressure go away. Start with a calf if you can, because the process is far easier and safer at a lighter weight (UF/IFAS Extension), but older animals can still be trained with patience, consistency, and good handling.
Why halter train at all
A halter-broke animal is safer and easier for everyone who touches it. Leading, tying, and standing quietly are the foundation for showing, but they matter just as much on a working farm. A cow that leads and ties calmly makes routine tasks manageable: holding still for a veterinarian or for artificial insemination, standing for hoof and foot work, moving between pens without a chute, and general handling that would otherwise take extra people and extra risk.
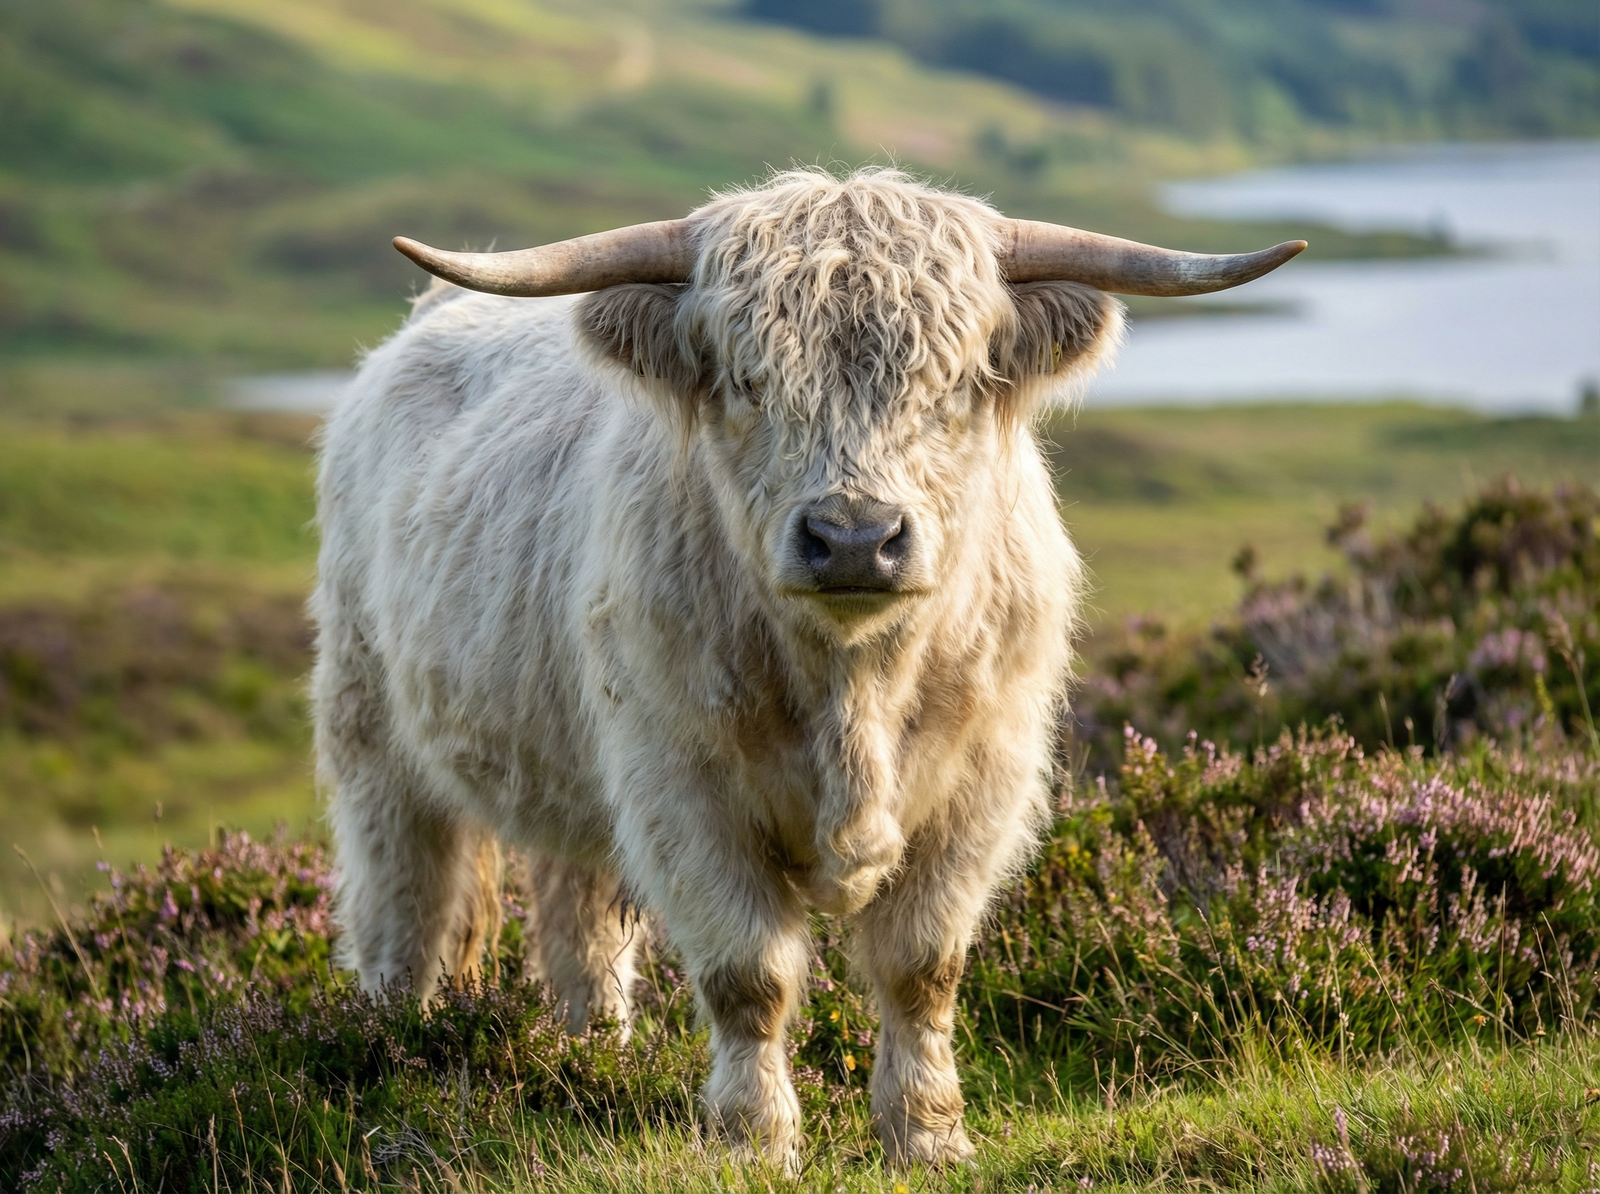
For anyone building a breeding program or preparing animals for sale, calm, trained cattle also present far better. If you are working with show or seedstock lines, whether commercial beef or a heritage breed like Highland cattle, temperament and manners carry real value. You can keep training progress, temperament notes, and health handling records on each animal’s Creatures profile, which gives buyers and vets a clear picture of how an animal has been handled.
The single biggest factor in how hard this will be is age and size. The younger the calf when you begin, the easier and safer the whole process (UF/IFAS Extension). Older animals are not a lost cause, but a mature cow can weigh well over a thousand pounds, so patience and secure equipment matter even more.
Choosing and fitting the halter
There are two halters to know. A rope halter is the everyday training tool. It is adjustable, forgiving, and applies pressure to the nose and poll in a way the animal learns to respect. Nylon or poly rope “breaking” halters are the common choice for this stage. A leather show halter is a fitted, finished halter used in the show ring once the animal already leads reliably; it is not a training tool.
Correct fit is not cosmetic, it is how the halter works and how you avoid hurting the animal. The nose band should sit across the bony bridge of the nose, roughly two inches below the eye (MSU Extension). Set too low, it presses on the soft cartilage of the muzzle, which is painful and can interfere with breathing. The lead should come off the animal’s left side, with the tightening or chin piece running completely under the jaw (MSU Extension). On a properly tied rope halter, the chin piece and lead slide through the eye so the halter loosens the instant pressure comes off, which is exactly what you want the animal to feel when it does the right thing.
Take a minute to identify the parts before you halter an animal: crown piece over the poll, nose band, cheek pieces, chin piece, and lead. Getting the halter on backwards or upside down is a common beginner mistake and undoes the pressure-and-release logic entirely.

The step-by-step process (safety first)
Work in a small, safe, enclosed area such as a stall, a small pen, or a corner where the animal cannot build up speed or drag you. Read the whole safety section below before your first session.
1. Gentle handling and desensitizing first. Before you ask for anything, spend time getting the animal used to your presence and touch. Being the person who feeds and cares for it daily builds that comfort quickly (UF/IFAS Extension). Move calmly, let it smell you, and touch it along the neck and shoulder so the halter is not the first new thing it experiences.
2. Fit the halter. Put the halter on correctly, nose band across the bridge of the nose and lead off the left side. Let the animal wear it and feel it before you ask for movement.
3. Teach it to tie and give to pressure. Tie the animal to something genuinely solid: a stout post, a heavy panel, or a wall anchor that will not break, bend, or pull loose. Tie at about head height, using a quick-release knot where appropriate so you can free the animal instantly in an emergency (Texas A&M AgriLife). Leave only a short length of slack, roughly 12 to 18 inches, so the animal cannot get a foot over the rope or twist its head around (UF/IFAS Extension). Then supervise. The animal will likely pull, fight the rope, and then discover that when it stops resisting, the pressure eases. Start with short intervals, about 15 minutes or until it settles, and build up over days (UF/IFAS Extension). Never leave a tied, haltered animal unattended for long stretches or overnight; a spooked or tangled animal can injure itself badly.
4. Progress to leading with pressure and release. Once the animal gives to the rope while tied, start leading. Apply steady pressure on the lead, and the moment the animal takes a step toward you, release completely. That release is the reward and the whole lesson: stepping forward makes the pressure stop (UGA Extension). Pull, wait, release on the step, repeat. Do not haul on a locked-up animal; ask, wait, and reward the try.
5. Keep sessions short, daily, and calm. Aim for roughly 5 to 10 minutes and end each session while the animal is behaving well, so it associates calm behavior with the halter coming off (UGA Extension). Frequent short sessions beat occasional long ones. If the animal gets rowdy, ease the tension and give it a moment to settle rather than escalating a fight you cannot win against its size.
Safety, honestly
Cattle are large, strong, and quick, and a spooked animal is genuinely dangerous. Treat these as non-negotiable:
- Never wrap the lead rope around your hand, wrist, fingers, or any part of your body (Oklahoma State University Extension). If the animal bolts, a wrapped rope can break bones, drag you, or worse. Hold it so you can let go.
- Use a strong halter and a strong rope, and inspect them. Failed equipment at the wrong moment teaches the animal it can escape and puts you in the path of a loose, running animal.
- Tie only to something that will not break or move. A post that pulls out or a gate that swings turns a training session into a wreck.
- Work in a safe, enclosed area where a startled animal cannot gain momentum or corner you.
- Do not leave a haltered animal tied unattended for long periods or overnight. Injury risk from tangling, falling, or panic is real.
- Respect the size gap. You are not going to out-muscle a mature bovine, and you should not try. Patience and the pressure-release method are what work.
If an animal is consistently dangerous to handle, step back and reassess rather than forcing it.
Consistency, reward, and trust
Training is really trust-building repeated over time. Pair the work with things the animal likes: a calm voice, grooming and brushing, and a small feed reward such as alfalfa cubes or a bit of apple given only during handling, so it learns to associate you and the halter with good things (UF/IFAS Extension). Grooming a haltered animal is also excellent practice for the standing and patience a show ring or a vet exam will ask for.

Consistency is the multiplier. Same routine, same calm energy, same clear release for the right behavior. Over a couple of weeks of short daily sessions, most calves progress from fighting the rope to leading and standing quietly. Every animal is an individual, though, so adjust the pace to the one in front of you.
As animals come along, their temperament and training level become part of what makes them valuable, whether you keep them, show them, or sell them. You can note handling progress on each animal’s record and, when the time comes, list trained stock in the cattle marketplace or find established programs through the breeder directory.
Frequently asked questions
How long does it take to halter break a calf?
With short daily sessions, many calves lead and tie reliably within one to a few weeks, though it varies by age, temperament, and how consistent you are. Younger calves generally come along faster (UF/IFAS Extension).
Can you halter train an adult cow?
Yes, but it is harder and requires more patience and more secure equipment because of the animal’s size and strength. The same pressure-and-release method applies; just respect that a mature cow can outweigh you many times over.
How long should each training session be?
Keep sessions short, about 5 to 10 minutes, and end on calm behavior so the animal learns that settling down is what makes the halter come off (UGA Extension). Frequent short sessions work better than occasional long ones.
Is it safe to tie a calf and leave it?
Tie only to something solid, with limited slack and a quick-release knot where appropriate, and stay to supervise. Do not leave a haltered, tied animal unattended for long or overnight, because a tangled or panicked animal can seriously hurt itself.
Rope halter or leather show halter for training?
Train with an adjustable rope halter, which applies and releases pressure in a way the animal learns from. Save the fitted leather show halter for the ring once the animal already leads well.
Do this next on Creatures
Whether you are managing the herd’s day-to-day care, planning a breeding, or buying and selling stock, Creatures is the records, marketplace, and directory layer to do it in one place.
Add your cattle. Create a free profile for each animal and store its tag, EID, and other identifiers on the profile. No account needed to start, and the walkthrough is in adding an animal to Creatures.
Track weights, calvings, and health. Keep weights, calvings, treatments, and vaccinations on each animal’s record. The record sheet opens for any visitor to look around, and a free account saves what you enter. See adding a record and health and medical records.
Stay ahead of routine work. Vaccination timing, preg checks, and calving dates are easy to lose track of. Set reminders so they do not slip. See reminders and upcoming care.
Buying or selling stock? Browse cattle on the marketplace and search trusted farms and ranches in the Creatures directory. Looking for something specific? Set a free listing alert and we will tell you when a match is posted. No account needed to start.
Run a ranch or farm? Add your operation so buyers can find you, then read getting listed in the breeder directory.